 The other day I finally found some freezer paper at the grocery store. Freezer paper is usually used to wrap meat for the freezer but has a lot of craft uses as well. The coolest use for has got to be for fabric stenciling. I have been wanting to try out the freezer paper stenciling technique for ages. The technique is ridiculously easy so I decided to document the process and share it here.
Materials needed:
- t-shirt or other fabric item
- stencil design
- freezer paper
- pencil
- x-acto knife
- cutting mat or cardboard to protect table surface
- iron/ironing board
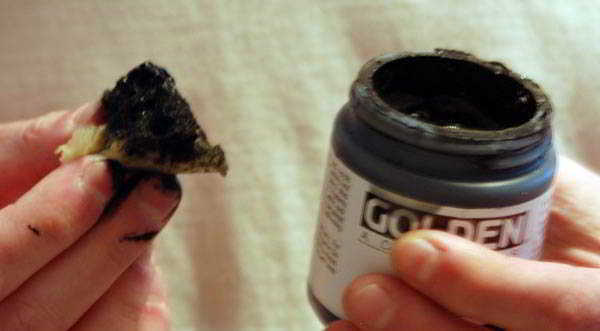
- fabric paint or acrylic paint
- foam brush or sponge
You can find find freezer paper in the aluminum foil section of the grocery store. The other supplies can be purchased at pretty much any art supply store. If you can’t find any of these things I have listed them on my store page here.
Steps: (click on the images to see the larger version)
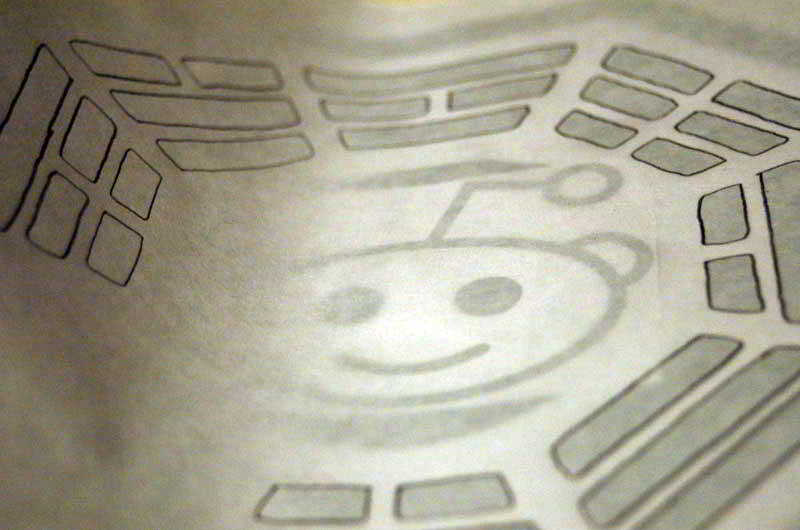
 First thing you need is a design for your stencil. I chose to do a mashup of the Reddit alien and the Dharma Initiative bagua since LOST is one of my favorite shows and I spend probably way too much time on Reddit. You can use your own design or download the one above by right clicking and saving it to your computer.
After you’ve printed out your stencil you will want to cut out two pieces of freezer paper that are larger than your design. Set one piece aside and begin tracing your design on the other piece. Freezer paper is partially translucent so tracing is easy. To make sure you don’t make mistakes you may want to tape the design and freezer paper down flat while you trace.

Once you’ve finished tracing it’s time to start cutting that stencil out. Depending on your design you may need to save some of the smaller pieces you cut out. Set those aside so you don’t lose them.
Now that your stencil is cut out go ahead and turn on that iron to the Cotton setting and make sure the steam is off. Remember that extra piece of freezer paper you set aside? Grab that. You will want to turn your t-shirt inside out and iron that piece SHINY side down where you want your stencil design. This sheet prevents the paint from soaking all the way through your fabric. It doesn’t take long to iron the paper down. About a minute or so but be sure not to hold the iron in one spot for too long or you will scorch the fabric.
Now turn your shirt out again. Place the outermost piece of your stencil on the shirt where you want the design. Iron it SHINY side down. Now the next piece. Iron it.
  Now all those little pieces. SHINY. DOWN. You can refer to your original design that you traced from to line up the smaller pieces.
  Check to see that everything has adhered to the fabric. There should be no gaps.
Ok, now for the messy part. Get out your fabric paint.  I used black acrylic paint that I probably should have added fabric medium to. Ah well… Dip your brush/sponge a little bit at a time into the paint and dab it into the stencil. Keep the paint layer as smooth and thin as possible so it dries thoroughly. My paint covered very well so I only needed one coat. Let it dry for at least 45 minutes.

When the paint is dry it’s time to peel off that stencil. This is easy. For the smaller bits I used the point of a mechanical pencil to pry them up. Once you’ve removed the stencil you will want to heat-set the paint. I just turn the shirt inside out and toss it in the dryer for 20 minutes or so.


5 responses to “Freezer Paper Stencils”
dude, i’ll buy you two beers!!…awesome!
LOVE IT!!! I have been trying to think of a costume for my older son!!! This is it!!!! He loves LOST:) TY! TY! TY!
Great tutorial!!!! thanks n____n
You mentioned you should’ve used fabric medium. What happened with just using acrylic?
It still works with just acrylic but I’ve found that after a while the paint starts to crack. Fabric medium would give the acrylic more flexibility which should help prevent cracking. I think it looks cool either way though.